
| Project Summary | Details |
| Time | 1 Weekend (approx. 8–10 hours) |
| Cost | $60 – $80 per chair |
| Tools | Miter saw, jigsaw, drill, orbital sander |
| Difficulty | Confident Beginner |
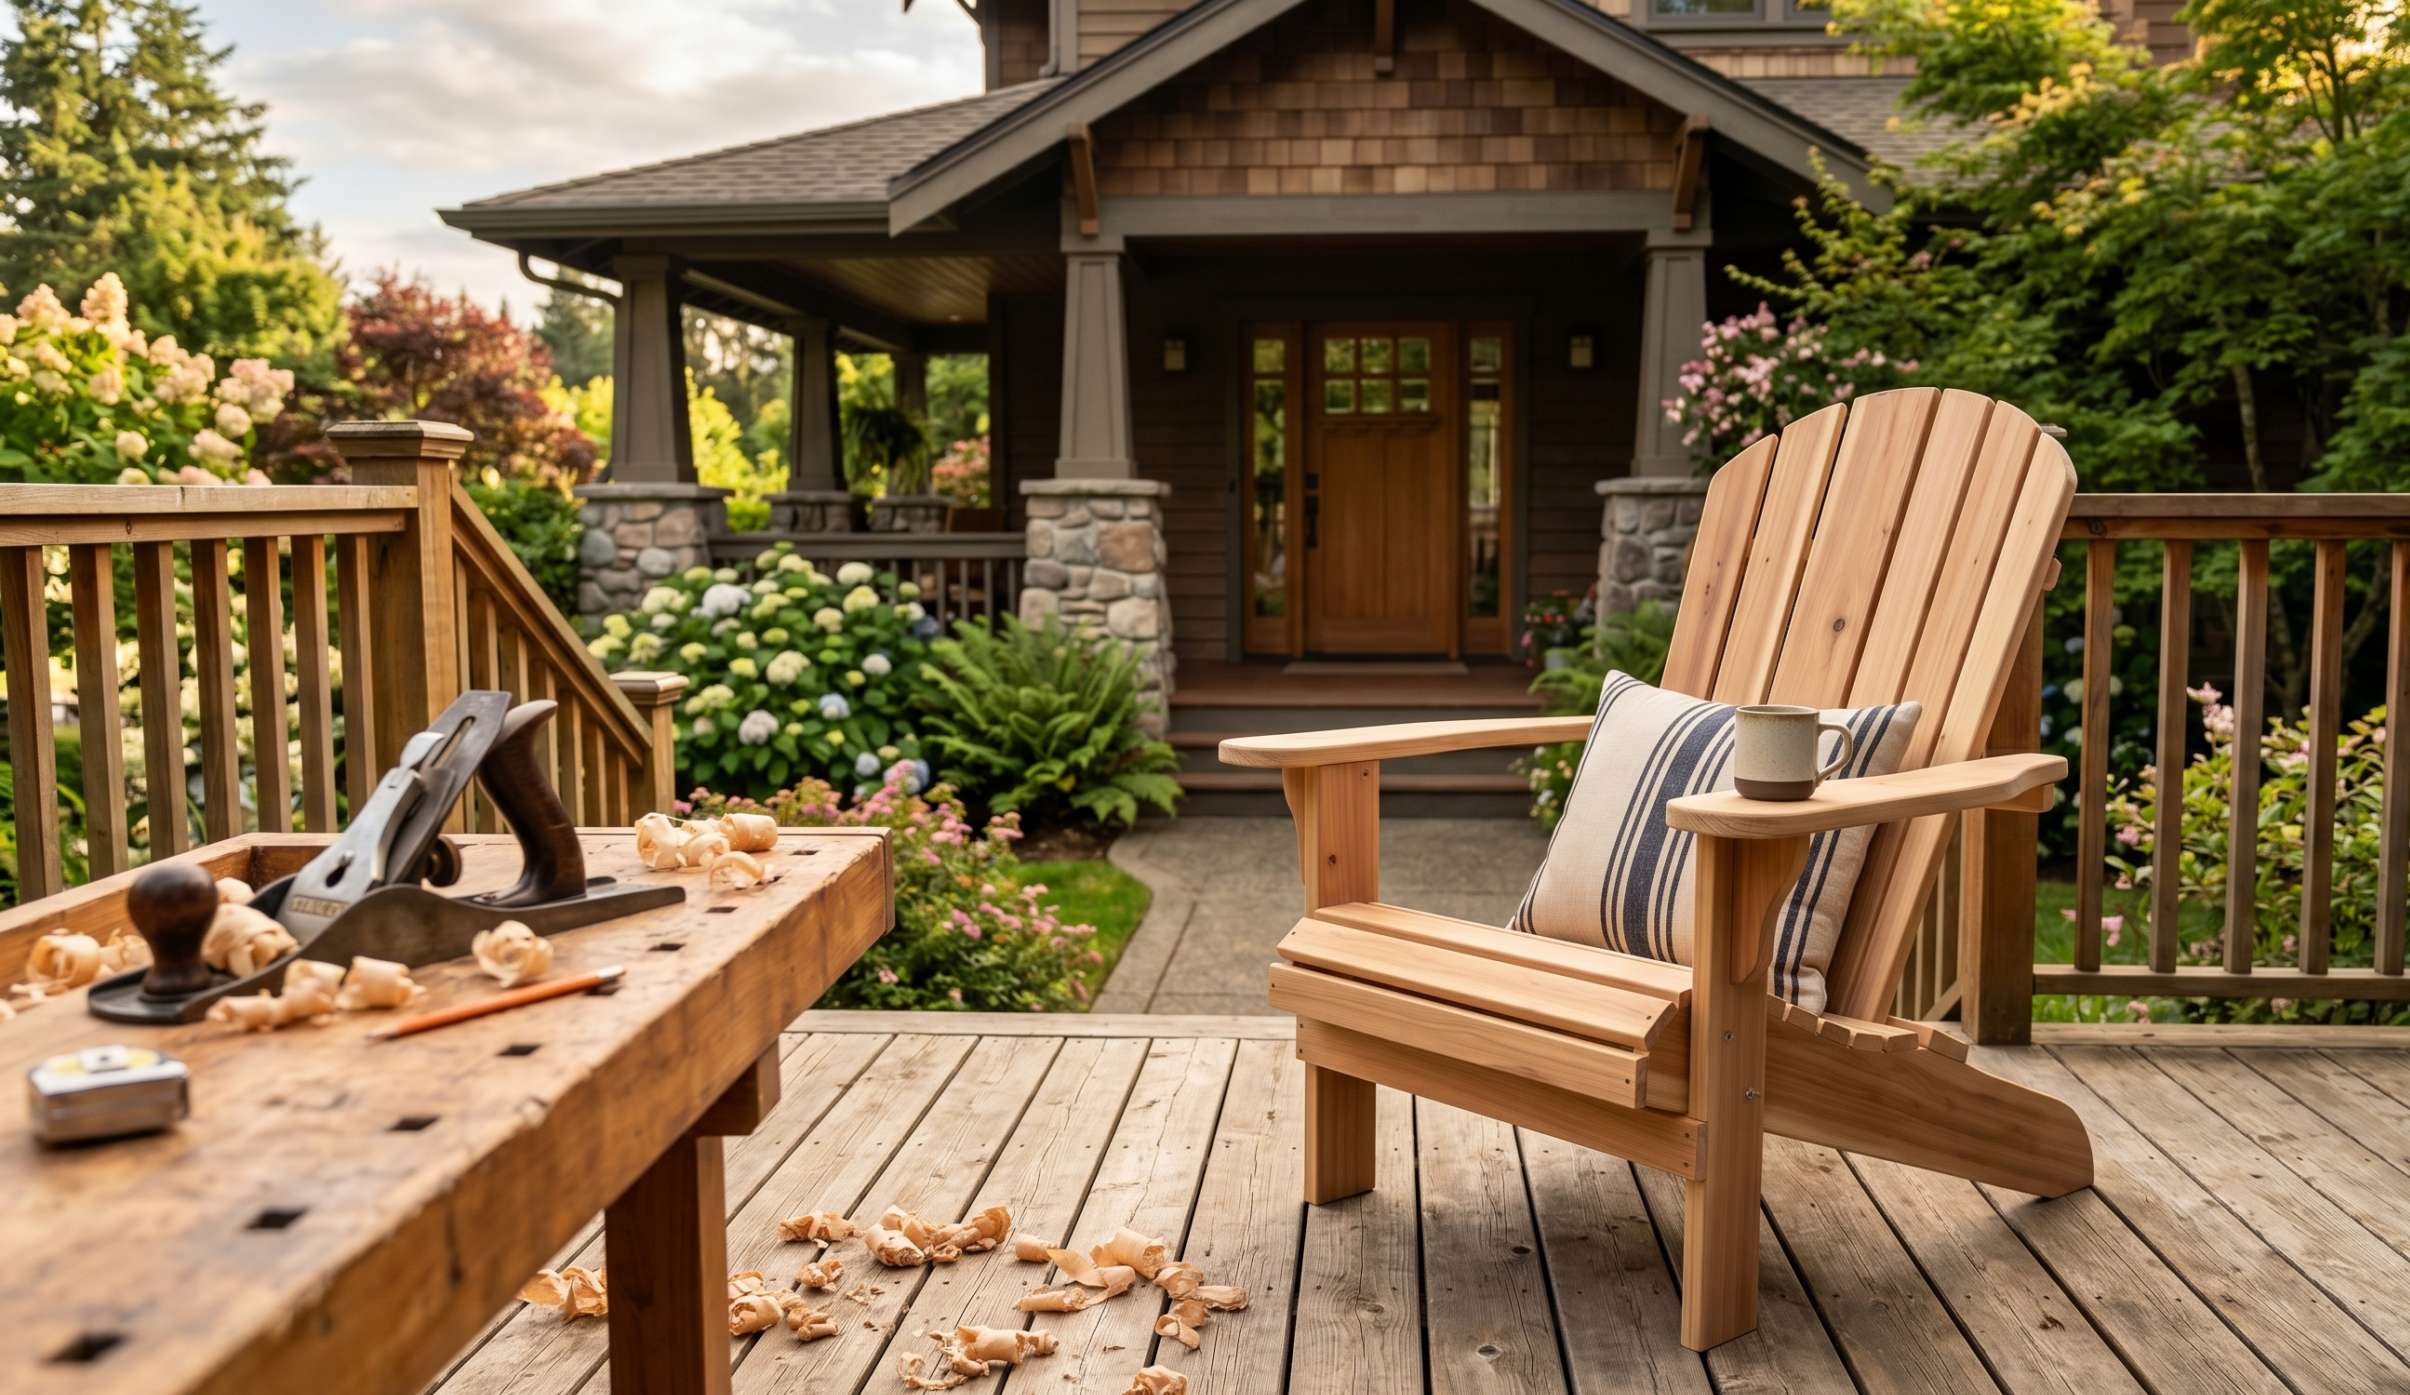
There’s something deeply satisfying about sinking into an Adirondack chair you’ve built with your own two hands. The soul of the wood—whether it’s the rich, aromatic heart of Western Red Cedar or the humble, approachable grain of yellow pine—speaks to a timeless tradition of American craftsmanship. It’s the quintessential backyard throne, designed for nursing a cold iced tea on a sultry July afternoon or watching the fireflies dance at dusk.
If you are a beginner, let me stop you right here: you can build this. You do not need a cavernous workshop filled with tens of thousands of dollars in cast-iron machinery. You don’t need a pedigree in heritage joinery. With a few basic power tools, a weekend of your time, and a willingness to just make some sawdust, you can transform a stack of dimensional lumber into an heirloom-quality piece of patio furniture. We are combining the structural integrity of a pro-level build with a straightforward, no-nonsense assembly process. Let’s get out to the shop and dive in.
The Shopping List
Note: The following materials are based on standard US big-box store lumber dimensions.
Lumber (Per Chair):
- (3) 1×6 x 8′ Boards (Cedar, Redwood, or Pressure-Treated Pine for longevity)
- (4) 1×4 x 8′ Boards
- (1) 1×8 x 8′ Board (For the wide armrests and front legs)
Hardware & Tools:
- 1 ¼” Exterior Grade Decking Screws
- 2″ Exterior Grade Decking Screws
- Exterior Wood Glue (Titebond III recommended)
- Jigsaw or Bandsaw
- Power Drill with Countersink Bit
- Random Orbital Sander & 120-grit/220-grit discs
The Cut List
Precision at the miter saw makes assembly a breeze. Measure twice, cut once, and remember that the kerf of your blade removes about 1/8″ of material!
From the 1×8 Boards:
- (2) Front Legs: 20 ½” long
- (2) Armrests: 27 ¼” long (Trimmed to shape per template)
From the 1×6 Boards:
- (2) Seat Stringers (Base): 33 ¾” long (Angled at 35 degrees on the back end)
- (1) Top Back Support: 26″ long
- (1) Bottom Back Support: 23 ½” long
From the 1×4 Boards:
- (7) Back Slats: Cut to varying lengths (Center slat 32″, tapering down to 28″ on the outer slats)
- (6) Seat Slats: 22 ½” long
- (2) Armrest Supports (Corbels): 6 ½” long
The Step-by-Step Build
Step 1: Cutting and Shaping the Stringers
The stringers are the foundation of your Adirondack chair. They dictate the iconic rearward slope that makes these chairs so incredibly comfortable. Use a jigsaw to cut the sweeping curve on the top edge of your 1×6 boards where the seat slats will eventually rest. It’s best to cut one perfectly, sand it to your line, and then use it as a template to trace and cut the second stringer.
When we cut the curved profile into the 1×6 stringers, we are actually severing the continuous, long-grain fibers of the wood. Wood derives its tensile and shear strength directly from these unbroken cellular fibers (the xylem). By dipping into the board to create the seat contour, we are reducing the “web” of the beam, concentrating the structural load on the remaining lower portion of the stringer. This is why we use a 1×6 rather than a 1×4 for the base; a 1×4 would simply not have enough continuous grain left after the curve is cut to safely support the dynamic live load of a person sitting down. Always ensure any knots—which act as structural dead zones—are kept far away from the deepest part of your curved cut to prevent sudden shear failure under weight.
Step 2: Assembling the Base Frame
Once the stringers are shaped, it’s time to attach the front legs and the front seat stretcher. Stand the stringers up and secure the 1×8 front legs to the outside of the stringers using 2″ exterior screws and a generous application of exterior wood glue. Ensure the legs are perfectly plumb (90 degrees to the floor). Add the first 1×4 seat slat across the front to lock the width and square up the frame.
Fastening the front legs to the stringers involves a cross-grain mechanical connection. While modern waterproof glues like Titebond III offer incredible adhesion (often stronger than the lignin holding the wood fibers together), glue alone is exceptionally weak when applied to end-grain or cross-grain intersections due to the porous, straw-like nature of the wood cells absorbing the adhesive away from the joint line. We rely on the 2″ exterior screws to provide the necessary clamping force and mechanical shear resistance. The screws act as metal dowels, bridging the two faces of lumber and preventing racking (side-to-side movement) when the chair is dragged across a deck or lawn.
Step 3: Attaching the Seat Slats
With your base frame rigid, begin attaching the remaining 1×4 seat slats. Start from the front and work your way back toward the curve. Leave exactly ¼” of space between each slat. You can use a ¼” piece of scrap wood or a drill bit as a quick spacer to keep your gaps perfectly consistent. Use two 1 ¼” screws on each end of every slat, drilling countersunk pilot holes first to prevent splitting.
Why the ¼” spacing? Outdoor furniture is constantly exposed to fluctuating ambient humidity and direct precipitation. Wood is an anisotropic, hygroscopic material; it behaves like a hard sponge, expanding and contracting aggressively across its width as it absorbs and releases moisture from the environment. If we were to butt the seat slats tightly against one another, a heavy rainstorm would cause the fibers to swell. Without room to expand, the boards would forcefully press against each other, leading to a phenomenon known as “compression shrinkage,” or more catastrophically, buckling and snapping the mechanical fasteners holding them down. The ¼” gap also serves a crucial secondary purpose: allowing rainwater to instantly drain through the seat rather than pooling on the surface and accelerating fungal rot.
Step 4: Building and Attaching the Backrest
The fanned back is the visual hallmark of the Adirondack. Take your bottom back support (the curved 1×6) and mount it between the stringers. Next, fan out your 1×4 back slats. Secure the center slat first at the top and bottom, then work your way outward, ensuring your spacing is even. Once the slats are secure, attach the top back support across the rear to tie the fan together into a single, rigid panel.
The backrest of an Adirondack chair essentially acts as a giant lever arm. When you lean back, you generate a significant “moment of force” at the fulcrum point where the back support meets the base stringers. To counteract this immense leverage, we utilize a triangulated mounting system. By securing the backrest not just at the bottom pivot, but also tying the upper structure into the armrests later on, we distribute the kinetic energy of a person leaning back across the entire geometry of the chair frame. Furthermore, arranging the slats in a fan shape isn’t just an aesthetic choice; the slight splay allows the structure to flex minimally under human weight, dispersing concentrated stress points and offering ergonomic compliance that a rigidly flat back would lack.
Step 5: Attaching the Armrests
The wide armrests are what make this chair perfect for holding a book and a beverage. Attach the 1×4 corbels (armrest supports) to the outside of the front legs. Then, lay the wide 1×8 armrests flat across the front legs/corbels and the rear backrest support. Drive screws down through the armrests into the supports beneath.
Wide boards, like our 1×8 armrests, are highly susceptible to “cupping”—a distortion where the edges of the board pull upward or downward, creating a U-shape. This happens because the growth rings within the board try to straighten out as the wood dries in the sun. To mitigate this, we look at the end-grain of the armrest to locate the “bark side” (the side of the board that faced the outside of the tree). Whenever possible, orient the board so the bark side faces up. As the board weathers, the growth rings will try to flatten, causing the center of the board to crown slightly upward rather than cupping downward. A slight crown sheds rainwater effectively, whereas a cup will hold a puddle of water right on your armrest, rapidly deteriorating the wood fibers and destroying your finish.
The Heritage Touch: Refining with Hand Tools
“There is a quiet, profound joy in the simplicity of a sharp edge meeting wood. Before you plug in the orbital sander and fill your lungs with dust, pause.”
While power tools speed up the rough dimensioning, the true tactile quality of a chair is born in the final details. Take a simple block plane or a perfectly tuned spokeshave to the hard, 90-degree factory edges of your armrests and seat slats. By taking gossamer-thin shavings, you can quickly create a smooth, continuous chamfer or a soft round-over that feels infinitely superior to the touch.
Listening to the shhhhp, shhhhp of a hand tool slicing through the grain connects you to centuries of chairmakers who came before you. It leaves a burnished, almost glass-like surface that sandpaper simply cannot replicate. Soften the front lip of the seat slats specifically; your legs will thank you when you’re lounging in the chair for hours.
Finishing & Protection
A beautifully built chair deserves a finish that will protect it from the elements.
- Preparation: Sand the entire project to 120-grit. There is no need to go higher than 150-grit for outdoor furniture, as you want the pores of the wood slightly open to accept the finish.
- Pre-Stain: If you are using a soft wood like pine and plan to stain it, apply a pre-stain wood conditioner. Pine is notoriously blotchy, and a conditioner ensures an even, professional color.
- The Topcoat: For the ultimate protection, look toward marine-grade finishes. A high-quality Spar Urethane contains UV inhibitors (acting like sunscreen for your wood) and is formulated to remain slightly flexible, stretching and shrinking with the wood’s seasonal movement. Apply at least three coats, lightly sanding with 220-grit between coats.
- The Secret Step: Flip the chair over and heavily seal the bottoms of the legs. End-grain wicks up ground moisture like a bundle of microscopic straws. Sealing the feet prevents rot from creeping up into the legs from damp patio stones or grass.
Frequently Asked Questions
What is the best type of wood for Adirondack chairs? For outdoor longevity without chemical treatments, Western Red Cedar, Teak, and Redwood are the gold standards due to their natural oils that resist rot and insect damage. Cypress and White Oak are also excellent. If you are on a budget, pressure-treated pine works incredibly well, provided you let it dry out completely for several weeks before attempting to paint or seal it.
What is the correct angle for an Adirondack chair back? The hallmark comfort of the Adirondack relies on geometry. The seat itself typically slopes backward at an angle between 10 to 15 degrees. The backrest should sit at a reclined angle of roughly 100 to 105 degrees relative to the seat. This specific combination lowers your center of gravity and naturally supports the lumbar spine.
How do I keep my Adirondack chairs from rotting on the grass? Aside from sealing the end-grain with epoxy or exterior urethane, you can attach small plastic or hard rubber furniture glides (often called “feet”) to the bottom of the legs. This physically elevates the wood off the wet grass by about ¼ of an inch, allowing air to circulate beneath the leg and keeping the end-grain permanently dry.
Final Thoughts & Next Steps
Look at that. You just built an Adirondack chair. Step back, brush the sawdust off your jeans, and admire what you’ve created. You didn’t just assemble something out of a flat-pack cardboard box; you took raw materials and built a functional piece of art that’s going to be a part of your backyard memories for years to come.
Don’t let the momentum stop here! Woodworking is an incredibly rewarding journey, and there is always a new project waiting just around the corner. If you had fun with this build and want to upgrade your toolkit or find the exact hardware I used today, you can check out my recommended Woodworking Resource right here: Get Access Here
Get out there, make some mistakes, make some sawdust, and most importantly, just keep building!
References & Further Reading
- Bob Flexner – Understanding Wood Finishing: The absolute bible on how wood interacts with moisture and finishes.
- Christopher Schwarz – The Anarchist’s Design Book: A masterful look at practical, vernacular furniture design and robust joint mechanics.
- Tage Frid – Tage Frid Teaches Woodworking: Classic, comprehensive guides on structural integrity and joinery techniques.