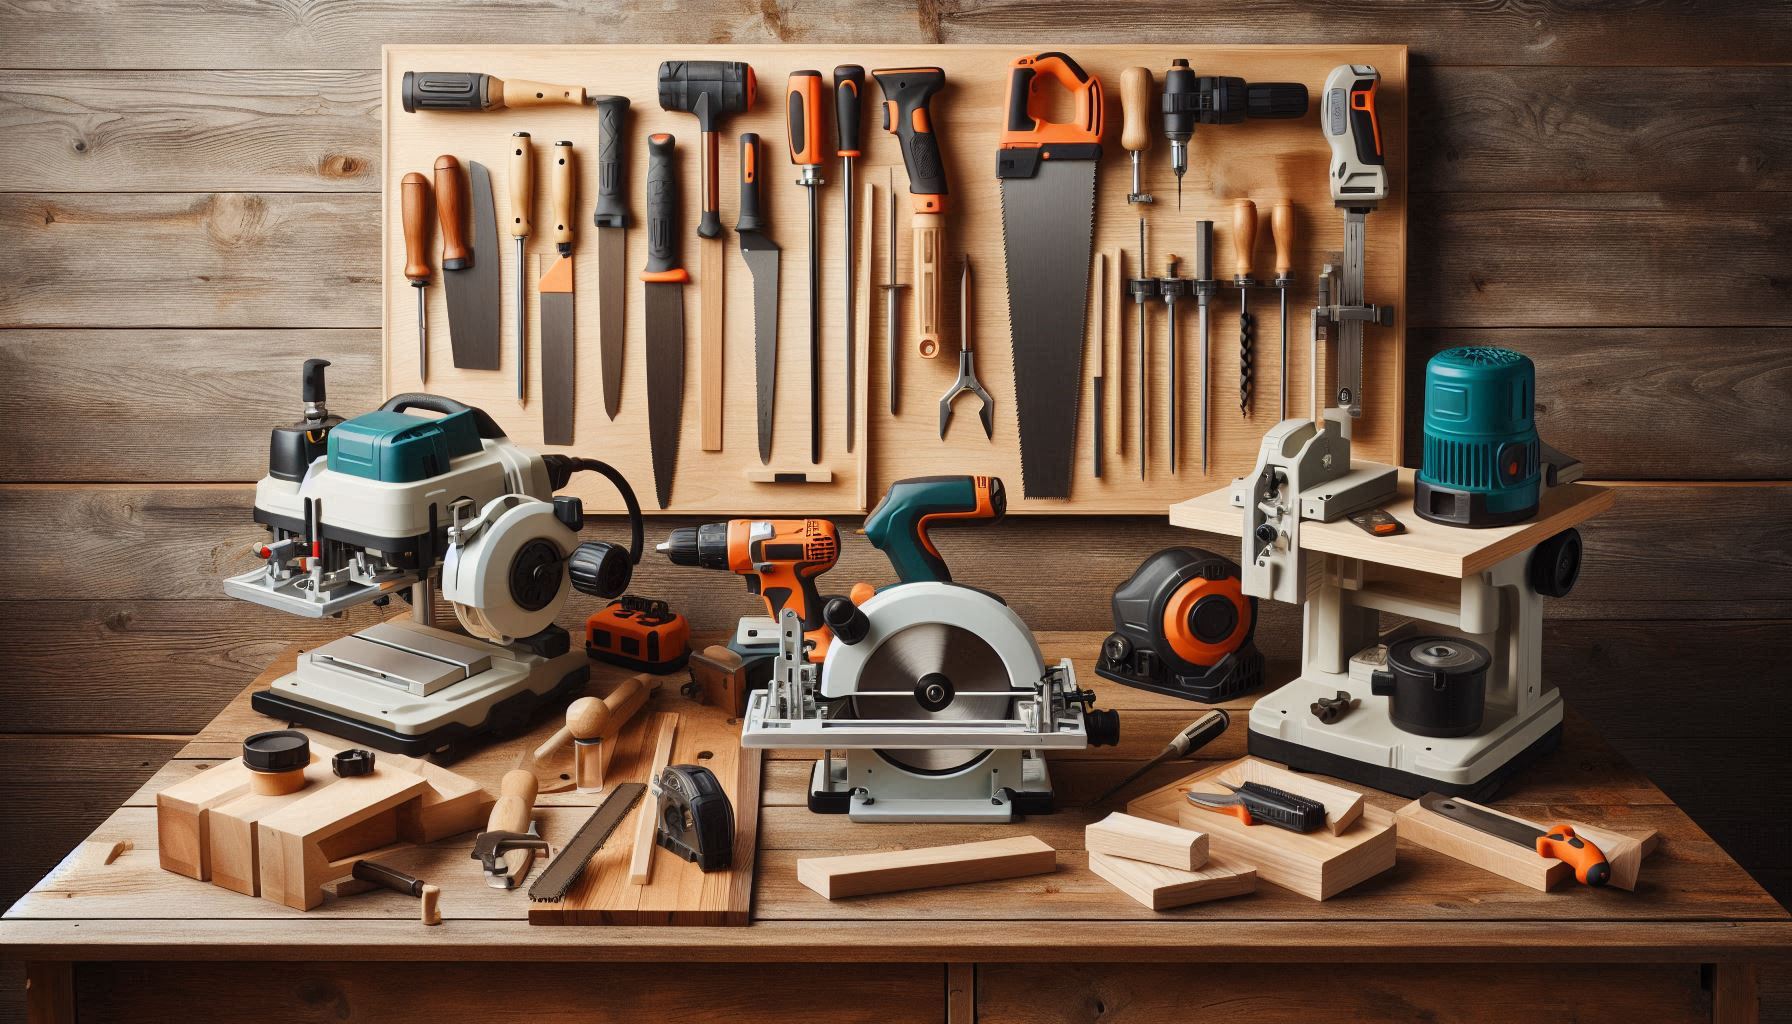
The essential woodworking tools you buy first will shape every project you build for years to come. Buy the right ones and your builds go smoothly. Buy the wrong ones and you’ll fight your tools instead of enjoying the craft. This guide cuts through the noise and tells you exactly what to get — and what to skip — as a beginner.
You don’t need to spend a fortune. Most beginners need fewer tools than they think. A small set of quality hand tools, two or three power tools, and reliable measuring gear will cover the vast majority of beginner and intermediate projects. Start here and expand as your projects demand it.
What you’ll find in this guide
- A critical safety rule most beginner guides get wrong
- The essential hand tools every beginner woodworker needs
- Which power tools to buy first — and which to skip
- Measuring and marking tools for accurate cuts every time
- The accessories that make every project easier
- How to maintain your tools so they last for years
⏱ Reading time: about 7 minutes
Read this before buying anything — the safety rule most guides get wrong
Almost every beginner woodworking guide recommends gloves as part of your safety kit. That advice is partially correct — and partially dangerous. Here’s what you actually need to know:
| Safety Item | When to Use It |
|---|---|
| Safety glasses | Always — cutting, sanding, chiselling, power tools |
| Hearing protection | Any power tool use |
| Dust mask (N95 minimum) | Sanding, routing, sawing — fine dust is a long-term health risk |
| Gloves | Handling rough lumber and hand sanding only — NEVER with power tools running |
For more on staying safe in the workshop, read our full guide to woodworking safety tips.
Essential hand tools for beginner woodworkers
Hand tools are where most woodworkers start — they’re affordable, don’t require power, and teach you the fundamentals of how wood behaves. These are the essential woodworking tools you should own before you buy a single power tool.
For in-depth tool reviews and brand comparisons, Fine Woodworking is the most trusted independent resource for woodworking tool recommendations.
Hand saw — the right one matters
Most beginner guides recommend a standard Western handsaw, a coping saw, and a hacksaw. The hacksaw recommendation is where they go wrong — a hacksaw is for cutting metal, not wood. Skip it.
Most beginner guides recommend a standard Western handsaw, a coping saw, and a hacksaw. The hacksaw recommendation is where they go wrong — a hacksaw is for cutting metal, not wood. Skip it.
If you prefer a Western-style saw, a tenon saw or dovetail saw (also called a back saw) is more useful for joinery than a general handsaw. But for a first purchase, the Ryoba is the recommendation most experienced woodworkers give to beginners.
Chisels
A set of four bench chisels — typically 6mm, 12mm, 19mm, and 25mm — covers almost everything a beginner will need. Chisels are used for cutting joints, paring wood to fit, and cleaning up saw cuts. The most important thing about chisels is keeping them sharp. A sharp chisel does exactly what you direct it to. A dull chisel goes wherever it wants and creates safety hazards.
Invest in a basic sharpening stone when you buy your chisels — it’s not optional, it’s part of the tool.
Mallet
A wooden or rubber mallet is used with chisels for controlled, precise striking. Never use a metal hammer on a chisel handle — you’ll damage the handle and reduce your control. A 16oz wooden mallet is a good starting weight for most beginners.
Block plane
A block plane is a small, one-handed plane used to smooth end grain, chamfer edges, and fine-tune the fit of joints. It’s one of those tools that seems optional until you have one — then you reach for it constantly. A well-tuned block plane produces a surface that no sandpaper can replicate.
Wood glue and clamps
These two items aren’t glamorous but they’re arguably more essential than most of the tools on this list. PVA wood glue is the standard adhesive for most woodworking joints — it’s strong, easy to clean up, and forgiving of minor gaps. Clamps hold joints together while the glue sets and keep workpieces secure during cutting and shaping.
The oldest joke in woodworking is that you can never have enough clamps — and it’s true. For a beginner, start with at least four bar clamps or F-clamps in the 300–600mm range. You’ll need a minimum of four just to glue up a simple panel. Add more as your projects grow.
Workbench or work surface
You cannot effectively use a saw, chisel, or plane without a solid surface to work on. A sturdy workbench is the ideal, but a portable folding work table — like a Workmate or similar — is a practical starting point for beginners with limited space. Whatever you use, it needs to be stable enough that it doesn’t move when you’re pushing a saw through timber.
Essential power tools for beginner woodworkers
Power tools dramatically expand what you can build and how quickly you can build it. But you don’t need many to start. Here are the three essential woodworking power tools for beginners — in the order you should buy them.
1. Cordless drill/driver
The cordless drill is the single most useful power tool a beginner can own. It drills holes, drives screws, and with the right bits handles a surprising range of tasks. Get one with variable speed, a clutch for screw driving, and at least 18V for adequate power. Buy a reputable brand — this tool will get used on every project.
Get two batteries if you can — nothing kills momentum like waiting for a battery to charge mid-project.
2. Random orbital sander
A random orbital sander is the most underrated power tool a beginner can own. Sanding by hand is slow, tiring, and produces inconsistent results. A random orbital sander does the job in a fraction of the time and produces a finish that’s difficult to achieve by hand. The random orbital motion prevents the circular scratches you get from a disc sander.
Start with 80-grit, 120-grit, and 180-grit discs. Work through them in order on every project. Don’t skip grits — each one removes the scratches from the previous one.
3. Circular saw
A circular saw makes quick, straight cuts through sheet material and dimensional timber that would take significant time with a hand saw. For beginner use, a cordless circular saw is the most practical option — no cord to manage, no power outlet needed in the workshop.
Always use a straight edge or guide rail to ensure straight cuts. A circular saw freehand produces inconsistent results until you’ve developed a practiced eye. A simple clamped straight edge costs almost nothing and immediately improves cut quality.
Optional next additions
Once you’ve mastered the three tools above, these are the logical next additions based on the type of projects you want to build:
| Tool | Best For | Priority |
|---|---|---|
| Jigsaw | Curved cuts, intricate shapes | Medium |
| Pocket hole jig | Fast, hidden joinery for cabinets and frames | Medium |
| Router | Edge profiles, dadoes, decorative details | Intermediate |
| Table saw | Ripping lumber, precise repetitive cuts | Advanced |
Measuring and marking tools for accurate cuts
In woodworking, accuracy starts before the saw. The right measuring and marking tools are essential woodworking tools that directly determine the quality of your finished project.
Tape measure
A 5–8 metre tape measure covers most workshop needs. Look for one with a wide blade that stays rigid when extended — this makes it much easier to measure long pieces alone. A locking mechanism is also essential.
Combination square
A combination square is one of the most versatile tools in the workshop. It marks perfect 90-degree angles, checks the squareness of corners, sets consistent depths, and can be used as a try square, mitre square, and depth gauge. Buy a quality one — cheap combination squares are often inaccurate, which defeats the purpose entirely.
Marking knife
Replace your pencil with a marking knife for layout lines. A marking knife severs the wood fibres and creates a physical groove that your saw or chisel can register against. The result is dramatically more accurate cuts than a pencil line allows. This is one of those small upgrades that makes an immediate, noticeable difference to your work.
Speed square
A speed square is a small triangular square used for marking cut lines quickly and checking angles. It’s particularly useful for marking 90-degree cut lines across boards before sawing, and for checking that assembled pieces are square during assembly.
Do I need calipers?
Many beginner tool lists include calipers. Honestly, a beginner building their first workbench, shelf, or outdoor furniture project doesn’t need them yet. A tape measure and combination square are plenty for most beginner and intermediate work. Add calipers later when your projects require the precision they offer.
Tool maintenance — keeping your tools sharp and safe
The best tools in the world become dangerous and ineffective if they’re not maintained. Here are the essential habits:
Keep cutting tools sharp
Sharp tools are safer than dull ones. A dull chisel requires more force, which causes it to slip unpredictably. A sharp chisel cuts exactly where you direct it. Invest in a basic sharpening stone and learn to use it — sharpening chisels and plane blades is a fundamental woodworking skill that pays off on every project.
Store tools properly
Proper storage prevents damage and keeps your workshop safe. A pegboard with tool hooks, a wall-mounted tool cabinet, or a quality toolbox all work well. The key is that every tool has a designated place and goes back there after use. A disorganised workshop leads to damaged tools and wasted time searching for what you need.
Maintain power tools
Keep saw blades clean and sharp — a dull blade is more dangerous than a sharp one because it requires more feed force, which increases kickback risk. Check battery terminals for corrosion on cordless tools. Keep air vents clear on power tools to prevent overheating. Follow the manufacturer’s maintenance schedule for each tool.
Building your toolkit gradually — a suggested order
You don’t need to buy everything at once. Here’s a suggested order for building your essential woodworking tools collection as a beginner:
| Stage | Tools to Buy | Approximate Cost |
|---|---|---|
| Stage 1 — Start here | Ryoba pull saw, 4 chisels, mallet, sharpening stone, tape measure, combination square, marking knife, 4 clamps, wood glue, safety gear | $150–250 |
| Stage 2 — First power tools | Cordless drill/driver, random orbital sander, circular saw | $300–500 |
| Stage 3 — Expand as needed | Jigsaw, pocket hole jig, block plane, router, speed square | $200–400 |
| Stage 4 — Serious workshop | Table saw, bandsaw, thicknesser, router table | $800–2000+ |
Most beginners are surprised by how much they can build with Stage 1 and Stage 2 tools alone. Don’t rush to Stage 4 — the skills you develop with basic tools translate directly to better results when you do add more capable machines.
Put your tools to work with a great plan
Having the right essential woodworking tools is only half the equation — the other half is having a plan worth building. A good woodworking plan tells you exactly what tools you’ll need, what timber to buy, and how each piece goes together.
For project ideas that match your current skill level and tool collection, browse our collection of beginner woodworking projects. And if you want access to over 16,000 step-by-step plans with full cut lists and materials lists, our Ted’s Woodworking review covers the most comprehensive plan library we’ve found for beginners.
For more on choosing the right timber for your first builds, read our guide to the best wood for beginner woodworking projects. And once you have your tools and timber sorted, understanding joinery techniques for beginners is the natural next step.